Sea Salt Spray: Step-by-Step Styling Guide
From fine hair to perfect volume
Dreaming of a messy yet stylish “beach” texture that lasts all day? The secret lies not only in choosing the right product but also in the technique of its application.
We debunk myths about sea salt spray with our expert Vlada, a barber at “Vice City” with over three years of experience working with men’s hair, and deep knowledge in colorimetry.
Vlada has created the perfect instructions for you: five simple steps that guarantee your hair gets maximum volume and texture without feeling heavy. Let’s start with the main point!
-

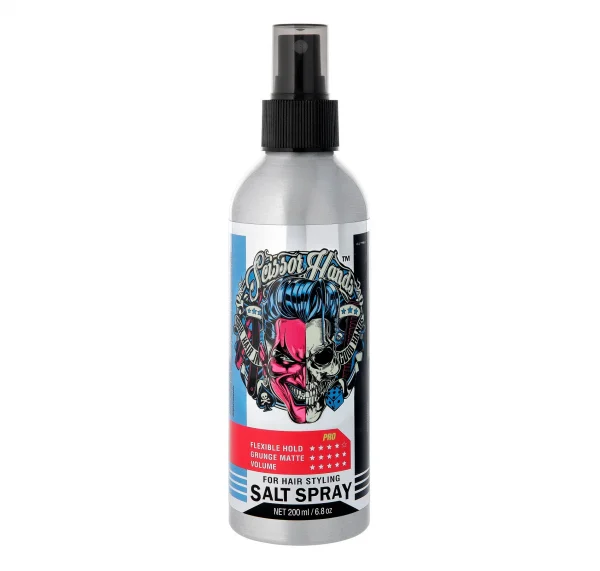
Salt Spray
$18,50
Stage 1: Assessment and Hair Preparation
The first step is determining the hair condition and its preparation. Sea salt spray is ideal for fine and thin hair.

Versatility: Hair texture can vary: curly, straight, or wavy — and the spray works equally well in all cases.
Application Secret: “The best result can be obtained by applying it to damp hair immediately after thorough washing. In a damp state, the hair cuticle lifts, and the spray molecules penetrate its structure more easily, ensuring a pronounced and long-lasting effect.”
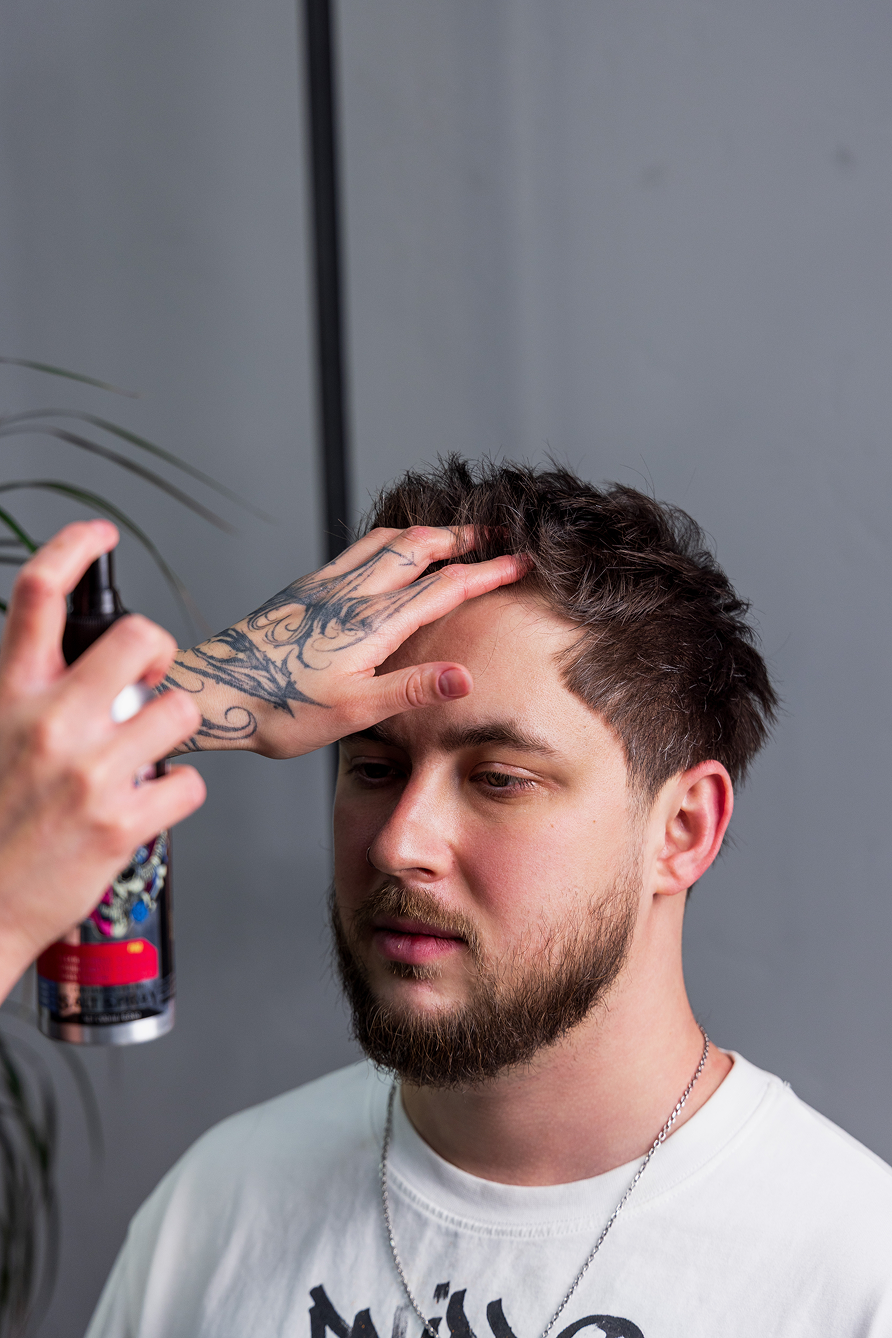
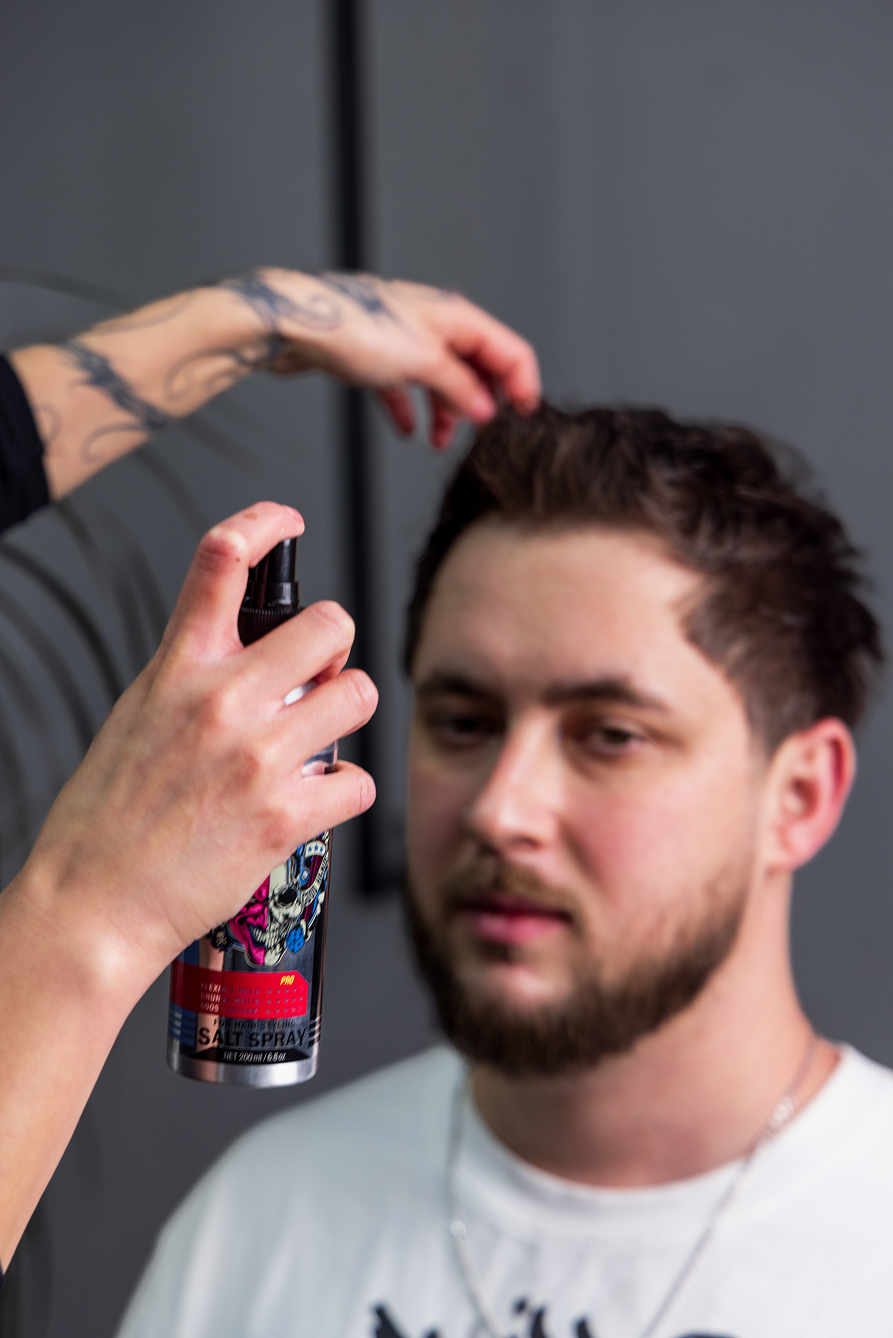
Stage 2: Proper Spraying and Dosage
The application itself is the key to even texture, not glued-together strands. Distance and product quantity play a decisive role here.

Dosage: The optimal amount depends on the length. For short hair, $1-2$ spritzes are enough, for medium length — $2-3$, and for very long hair — $3-4$.
Caution Zones:“Special care should be taken when applying to the fringe and temples area, as the hair there is the thinnest and can be easily over-burdened.”
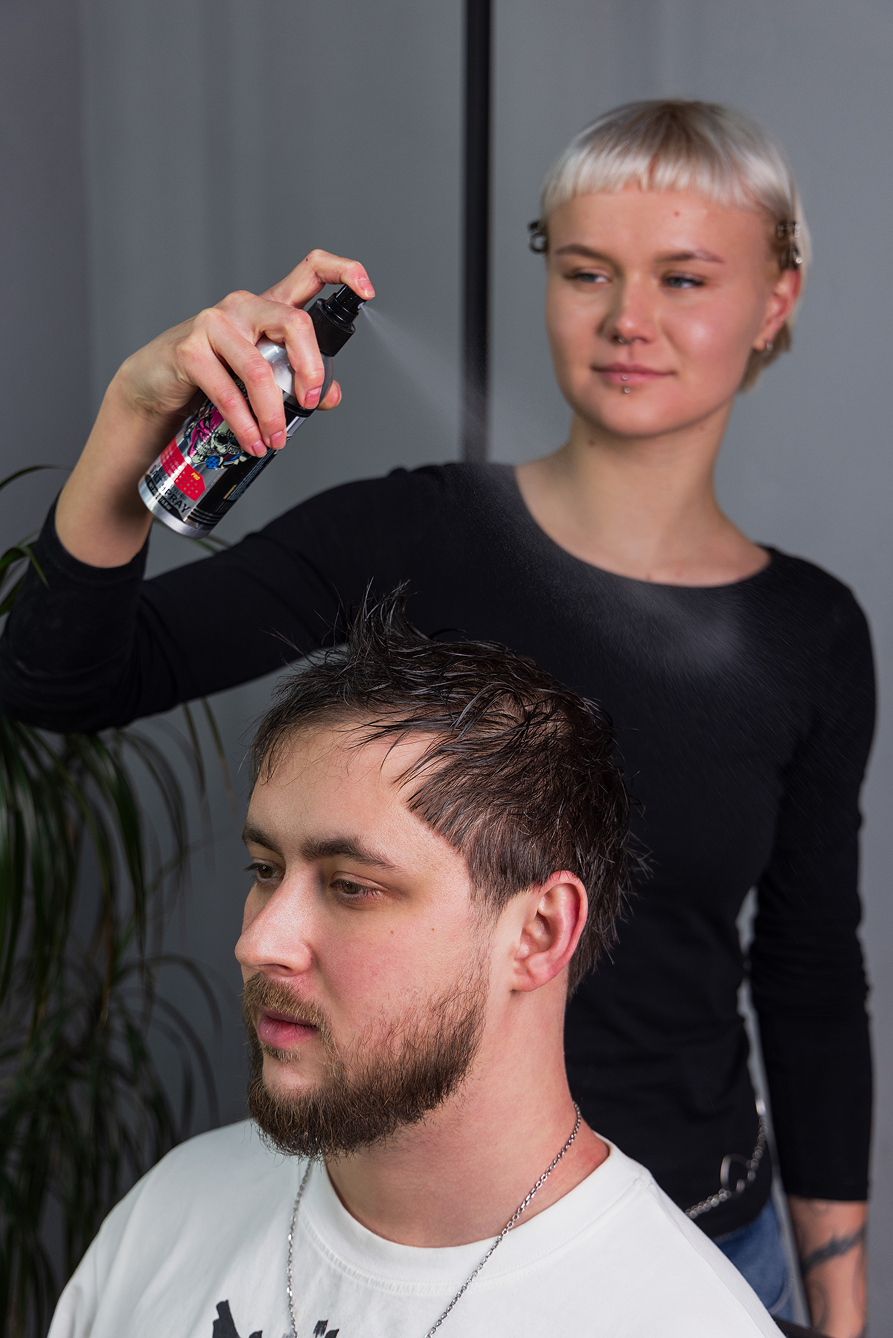
Main Mistake: Applying the spray too close to the scalp. Always maintain the correct distance to get natural volume and clean texture.
Stage 3: Drying and Root Management
The blow-dryer not only dries but also activates the spray formula, giving the hair the desired volume. Use a moderate temperature setting!
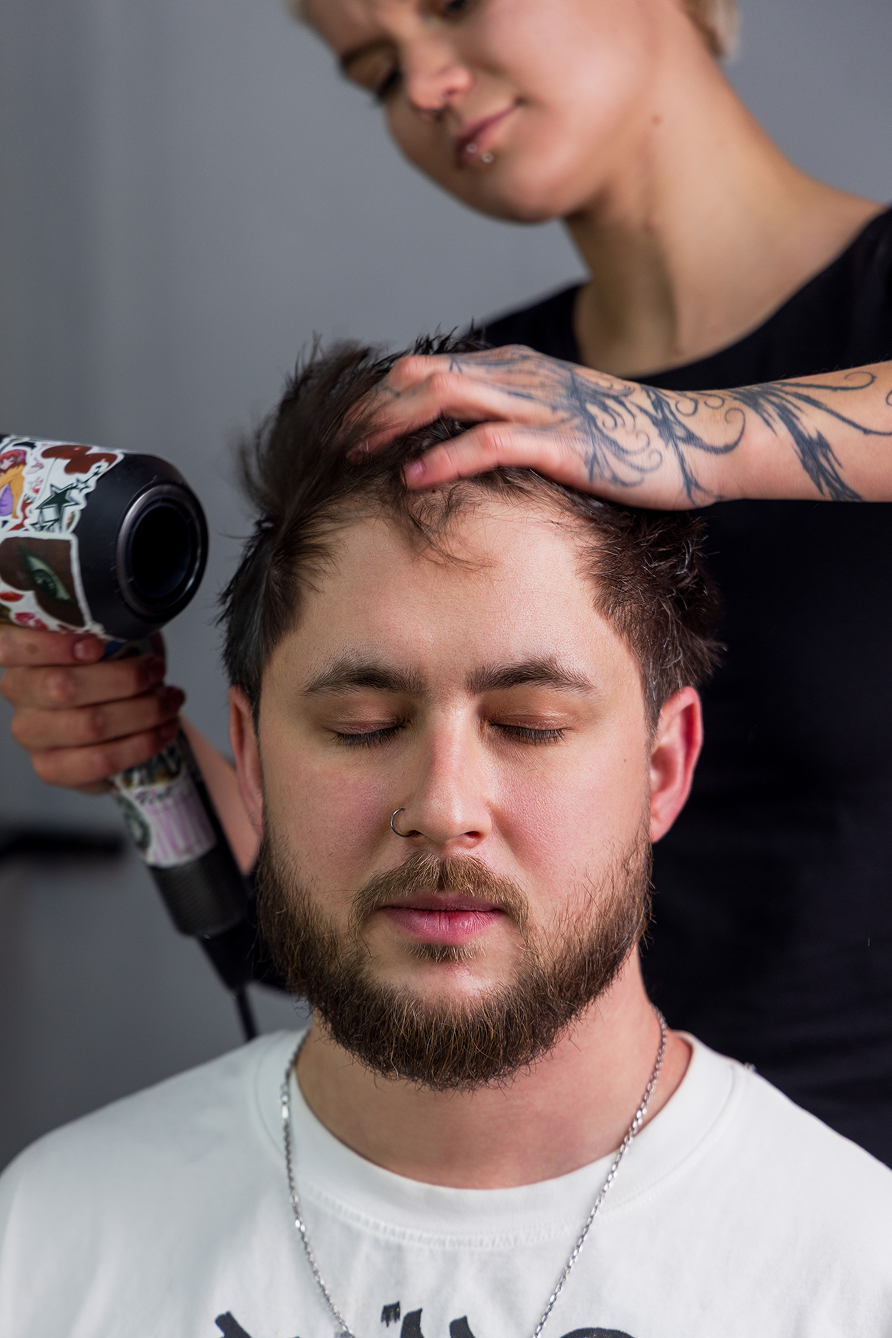
The movements of the blow-dryer and hands should be in the same direction. First, we dry the hair diagonally to the right, then to the left — this way we smooth and lift the roots.
Use a brush and dry the hair straight or forward — depending on the cut’s shape.
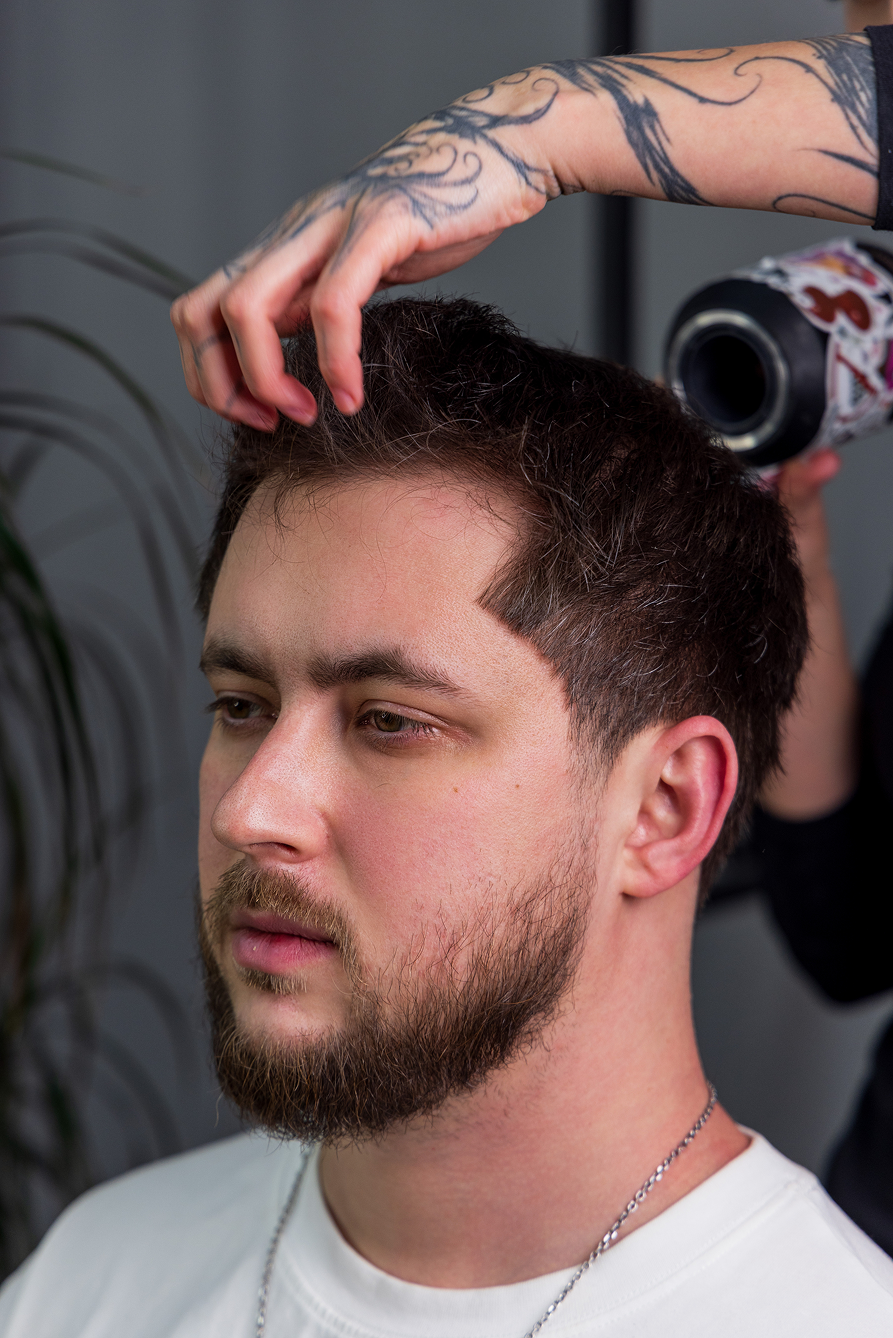
Stage 4: Creating Texture and Chaos
At this stage, the spray begins to work as a texturizer, and you shape the hairstyle.

Wavy Hair Life Hack: “If you have wavy hair and use sea salt spray, I recommend allowing it to air-dry naturally — the texture will look most harmonious this way.”
Stage 5: Enhancing Hold
Usually, the hold provided by the spray is sufficient, but if you want to maximize the longevity of the hairstyle, a second layer is needed.
Result: This will create a light setting effect, similar to hairspray, but without the heaviness and excessive matt finish.
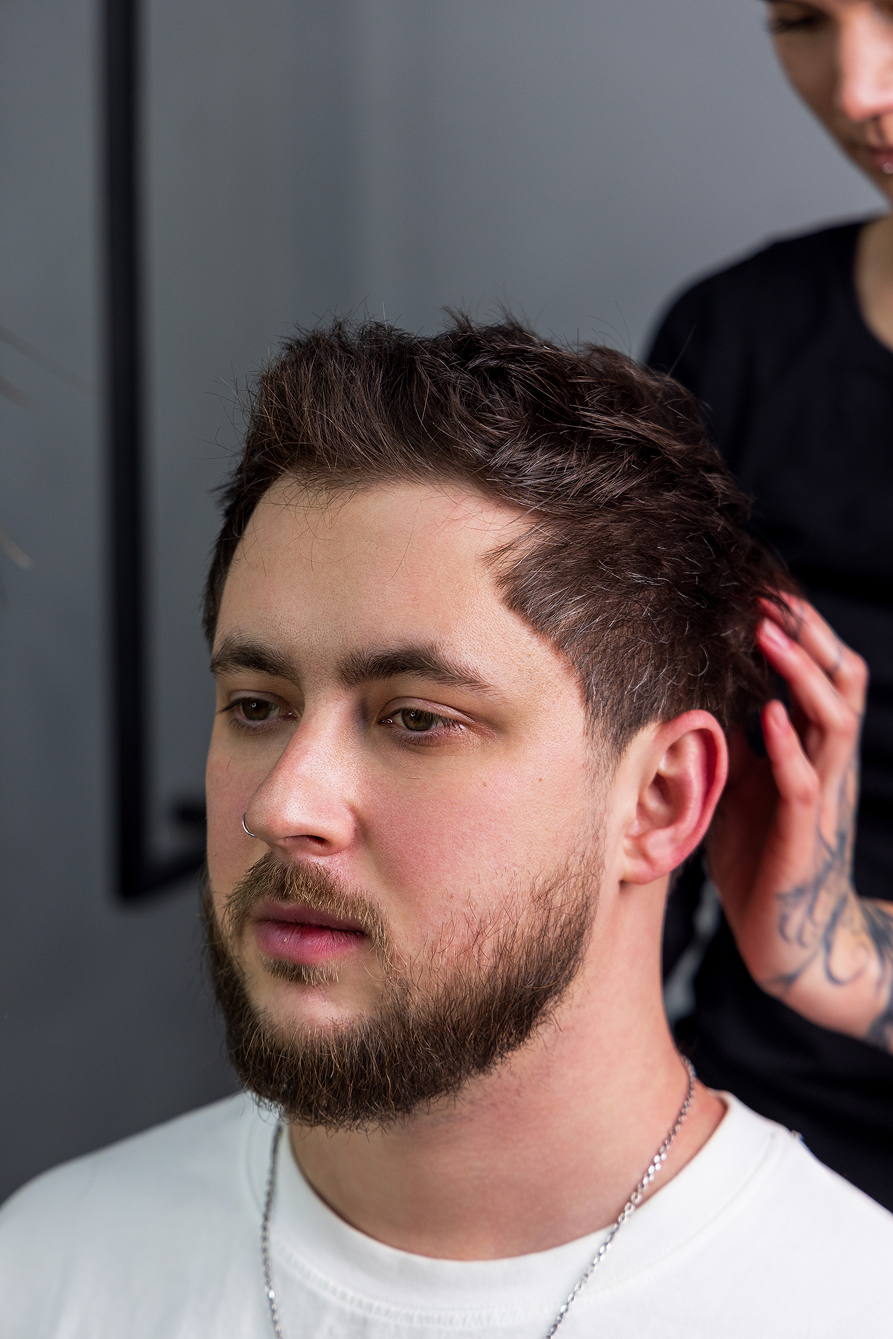
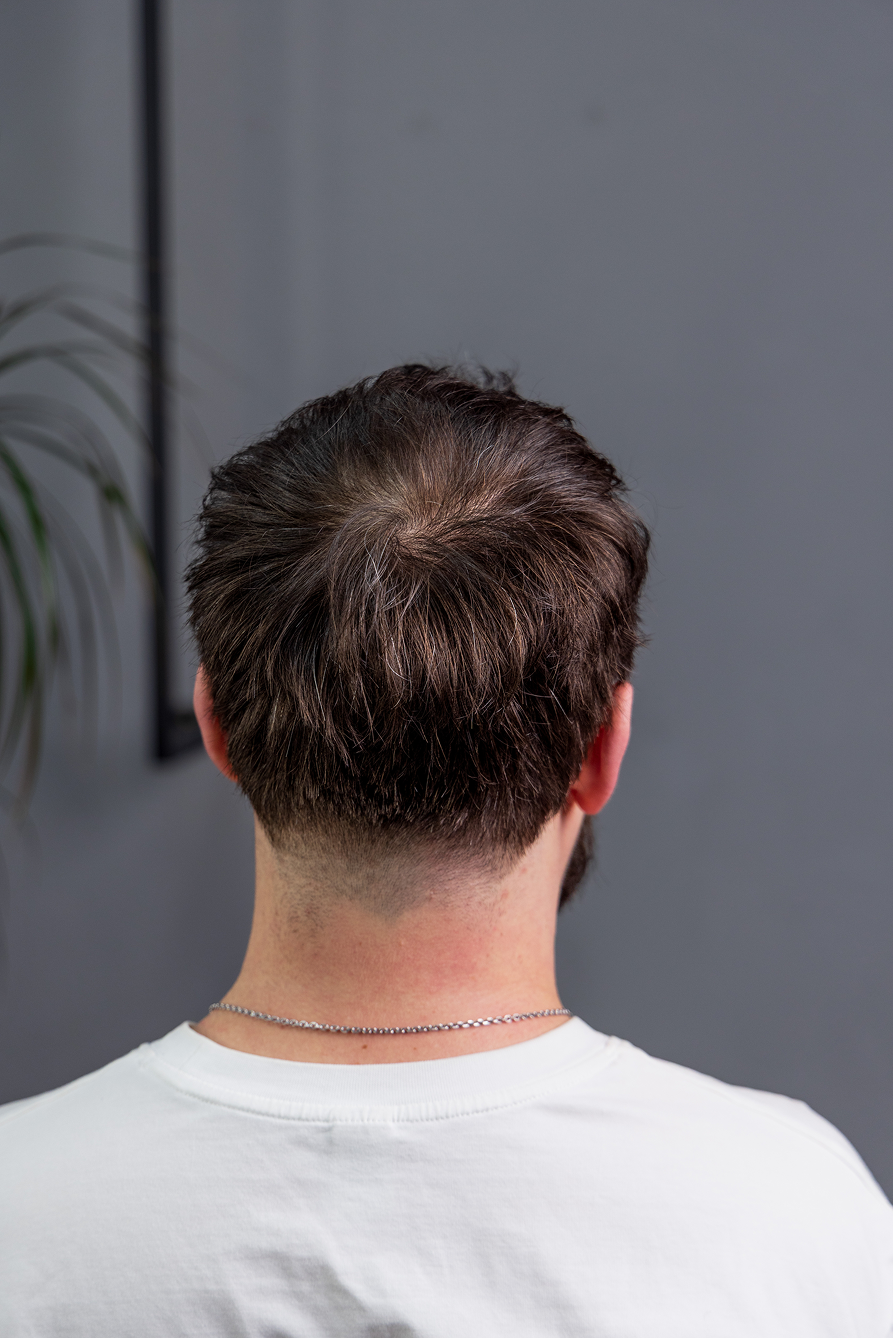
Stage 6: Final Result
That’s it! Thanks to the correct application and drying technique, you have achieved natural, textured volume that will last all day.
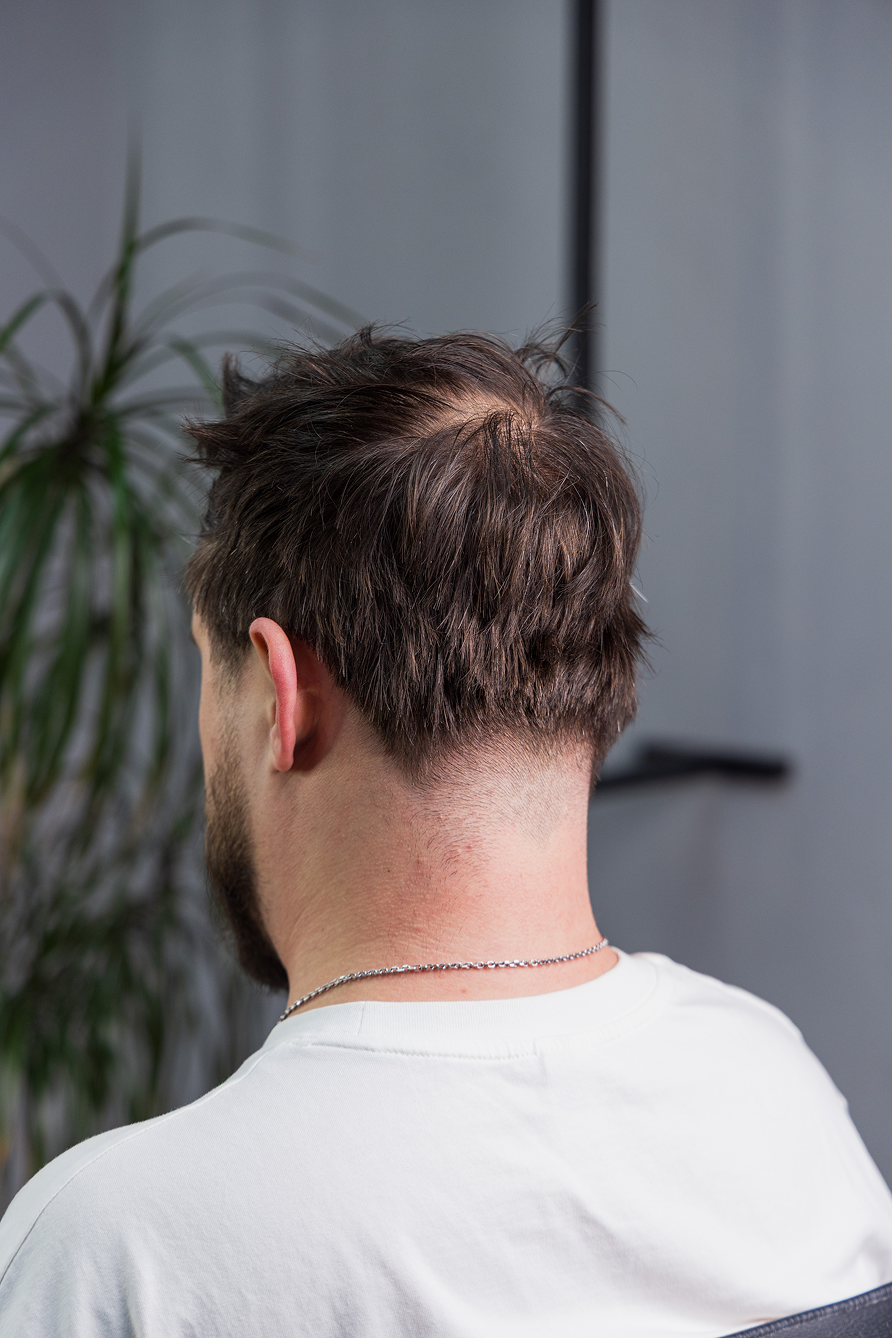
As seen on our model, sea salt spray is an indispensable tool for masking problem areas. We remind you that a receding hairline was noticeable in the initial stages. Vlada confirms that by adding volume near the roots and correctly forming the texture, the spray visually completely conceals the receding hairline.


Author:
Oleksandra Matafonova
Volodymyra Vyhuliar
www.instagram.com/vlada_brb
ПРОДОЛЖИТЬ ЧТЕНИЕ
ПРОДОВЖИТИ ЧИТАННЯ
CONTINUE READING